- Wed 16 June 2021
- misc
Why on earth would I want to virtualize a Raspberry Pi on a Pi? I'll get that question out of the way up front: snapshot rollback.
I'm developing/refactoring a big Ansible role to push personality into a freshly DDed Raspberry Pi to build what we call a "utility Pi" - includes a DNS server - unbound with Adblock (or not, config option), dhcp server, stratum 1 ntp server (which I still want to characterize just how bad/good it is), Ubiquiti controller, tig stack, apc ups monitor daemon…. Deploys ssh keys, reconfigures security posture, a few other things I don’t recall offhand. All steerable at runtime with variables in group_vars or host_vars. Obviously being able to roll back to a fresh image is useful for testing and I'm about done with constantly rewriting SD cards so when the VMware ARM Fling was announced last fall I was highly interested.
The VMware Fling documentation does a good job of explaining your prerequisites. Note that as I write this, they released version 1.4 yesterday; I did all this work on VMware 1.3 after getting busy for a couple of months and ignoring it while I had 1.2 loaded. So bear that in mind.
What the VMware Fling documentation doesn't do too well is explain the gyrations that one must go through in order to install Raspberry Pi OS in a VM. It's a little bit hairy, but I figured I'd share my notes.
First, get yourself a copy of the arm64 build of raspios. No idea if the universal build will work as I haven't tried it. I would not expect backward compatibility necessarily on ARM as I would with x86-64, so I didn't bother experimenting with this. Find your RaspiOS here. Note that I'm doing this all with the "lite" version since I'm building appliances. Suppose it would probably work with the desktop version too if your interests run that way.
While you're at it, you'll need a stable arm64 net install Debian disk to use for installing grub via rescue boot.
Now, find yourself a machine with qemu-utils installed. In my case
this was an older LX brand VM under SmartOS, which I'm noting here for
situational awareness.
You'll need to use qemu-img to convert the RaspiOS image from a .img to a
.vmdk. Note this will change both the size and the checksum. If it
doesn't change one or both, then you should modify your hypotheses and
try again. The reason I'm noting this is that apparently the qemu
tools have changed a bit over the years as far as command line
arguments go and what's optional vs. implicit. With a version that
identified as qemu-img version 2.0.0, Copyright (c) 2004-2008 Fabrice
Bellard, the following worked for me:
qemu-img convert -f raw -O vmdk 2021-05-07-raspios-buster-arm64-lite.img 2021-05-07-raspios-buster-arm64-lite.vmdk
You can't resize the image with qemu-tools though. You'll need to do that on the VMware host.
Upload the image to the VMware datastore (use the browser or turn on ssh and just scp it) and then:
vmkfstools -i 2021-05-07-raspios-buster-arm64-lite.vmdk -d thin raspi1.vmdk
Note that we're turning this to thin-provisioned. I tried it with non-thin-provisioned. It didn't work. Might have been pilot error might have been something else, but I found a youtube video on this and the guy was doing thin with no further explanation than "you should do this so you don't run out of disk space", which sounds more like "run out of disk space in the worst way at the worst time" to me, but whatever.
We need to expand "the disk" in three places, and it's a bit fraught; a misstep can cause you to have to start over. The places are:
- VMware's notion of how big the disk is, which will be passed in to the VM when it probes the disk
- The disk label (a DOS style label) that will change Linux's notion of how big the partition is.
- The filesystem itself (expand to fill the partition).
If you're on a physical Pi, the first step happens transparently as it's an attribute of the physical SD card. The second and third happen automatically on first (double) boot. We are back to the bad old days of having to do everything by hand.
Let's make the underlying "disk" for the VM raspi be 20gb:
vmkfstools -X 20000m raspi1.vmdk
Now on the VMware web console we can:
- Create a new VM, type is Linux/ 64 bit Debian
- Delete the HD
- Add an existing disk image as HD (you'll add raspi1.vmdk if you're using the same names I did above)
- add the Debian ISO in the CD drive.
At the boot screen, choose advanced -> rescue mode -> shell.
You want to mount /dev/sdb as your root filesystem. It will notice
for you that /boot is on /dev/sda and offer to mount that for you
too, which you should accept.
Now, you'll have a shell that is in the RaspiOS root partition. Run raspi-config --expand-rootfs which will expand the root partition (but not the filesystem!) to its full size and fail to update the kernel about it, so you must reboot immediately! At this point you may or may not have some fiddliness with VMware deciding to detach the "first boot only" CD so you may have to reattach the rescue CD.
Back into rescue shell, same as above.
Now resize2fs /dev/sda2 and do a df to make sure you're good.
While you're at it, now would be a good time to touch /boot/ssh if
you want the VM to run an ssh server automatically when it comes up.`
At this point we can download some stuff with impunity and not run out of disk space.
apt-get update
apt install linux-image-arm64 grub-efi-arm64
grub-install --efi-directory=/boot
update-grub
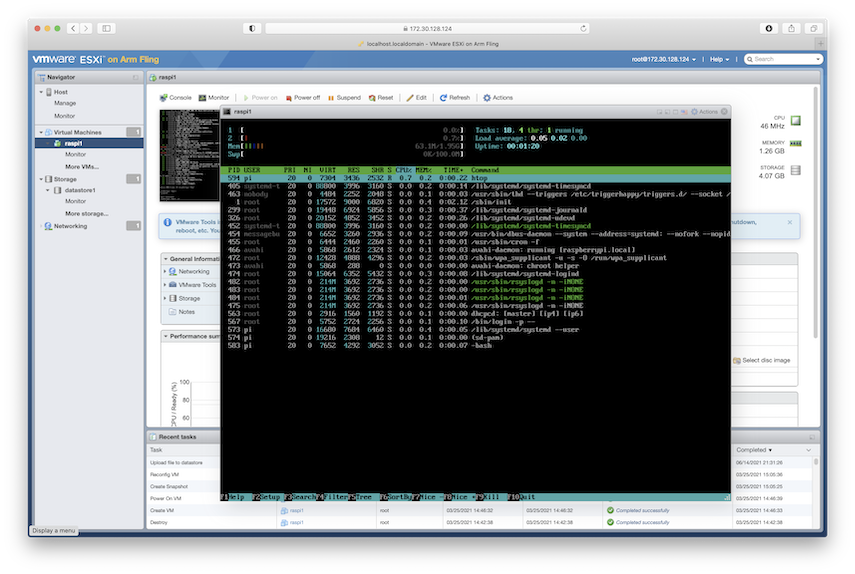
Now you should be able to reboot, without the rescue CD, and have it come up fully as a Pi VM. On a Pi.
The kernel will identify as Debian (why? didn't replace the kernel...), but your userland should be all Raspi.